Wednesday, December 9, 2020

Lek Jeyifous digital landscape resources

Choose one photo to use as your digital landscape collage. 

Save it to your device, so you can use it as the background for your work in Google Slides.

Use the website https://www.remove.bg/upload to remove backgrounds of images  that you would like to add to your digital landscape.


Below are some images with backgrounds already removed that you can also use in your work.


Wednesday, September 19, 2018

into the deep with yellena.

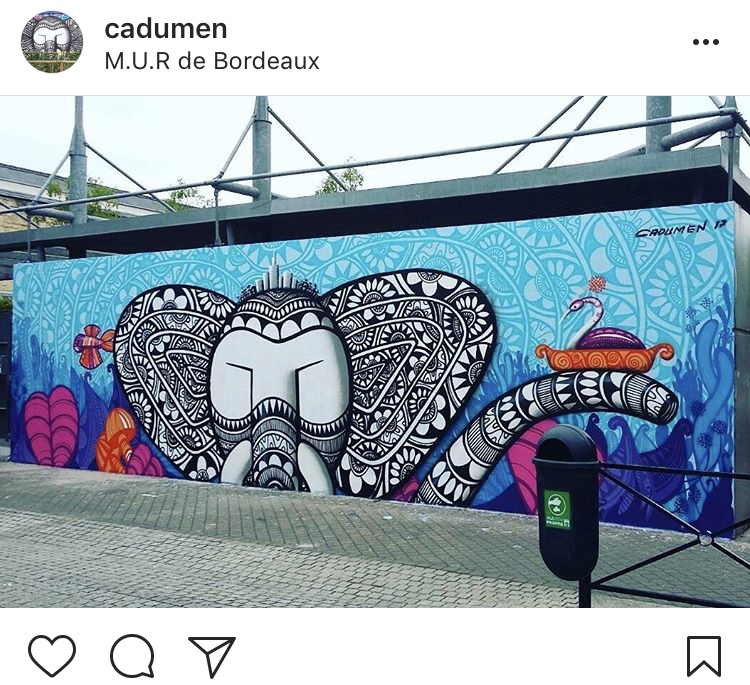
I've loved the work of Yellena James for many years. 2 of her prints hang in our living room and they are such a treat in terms of shape, pattern, and subtle movement. she was one of the first living artists that I brought into my elementary curriculum and I think it's long overdue to share her work with another generation of Zamorano students.

Recently, 
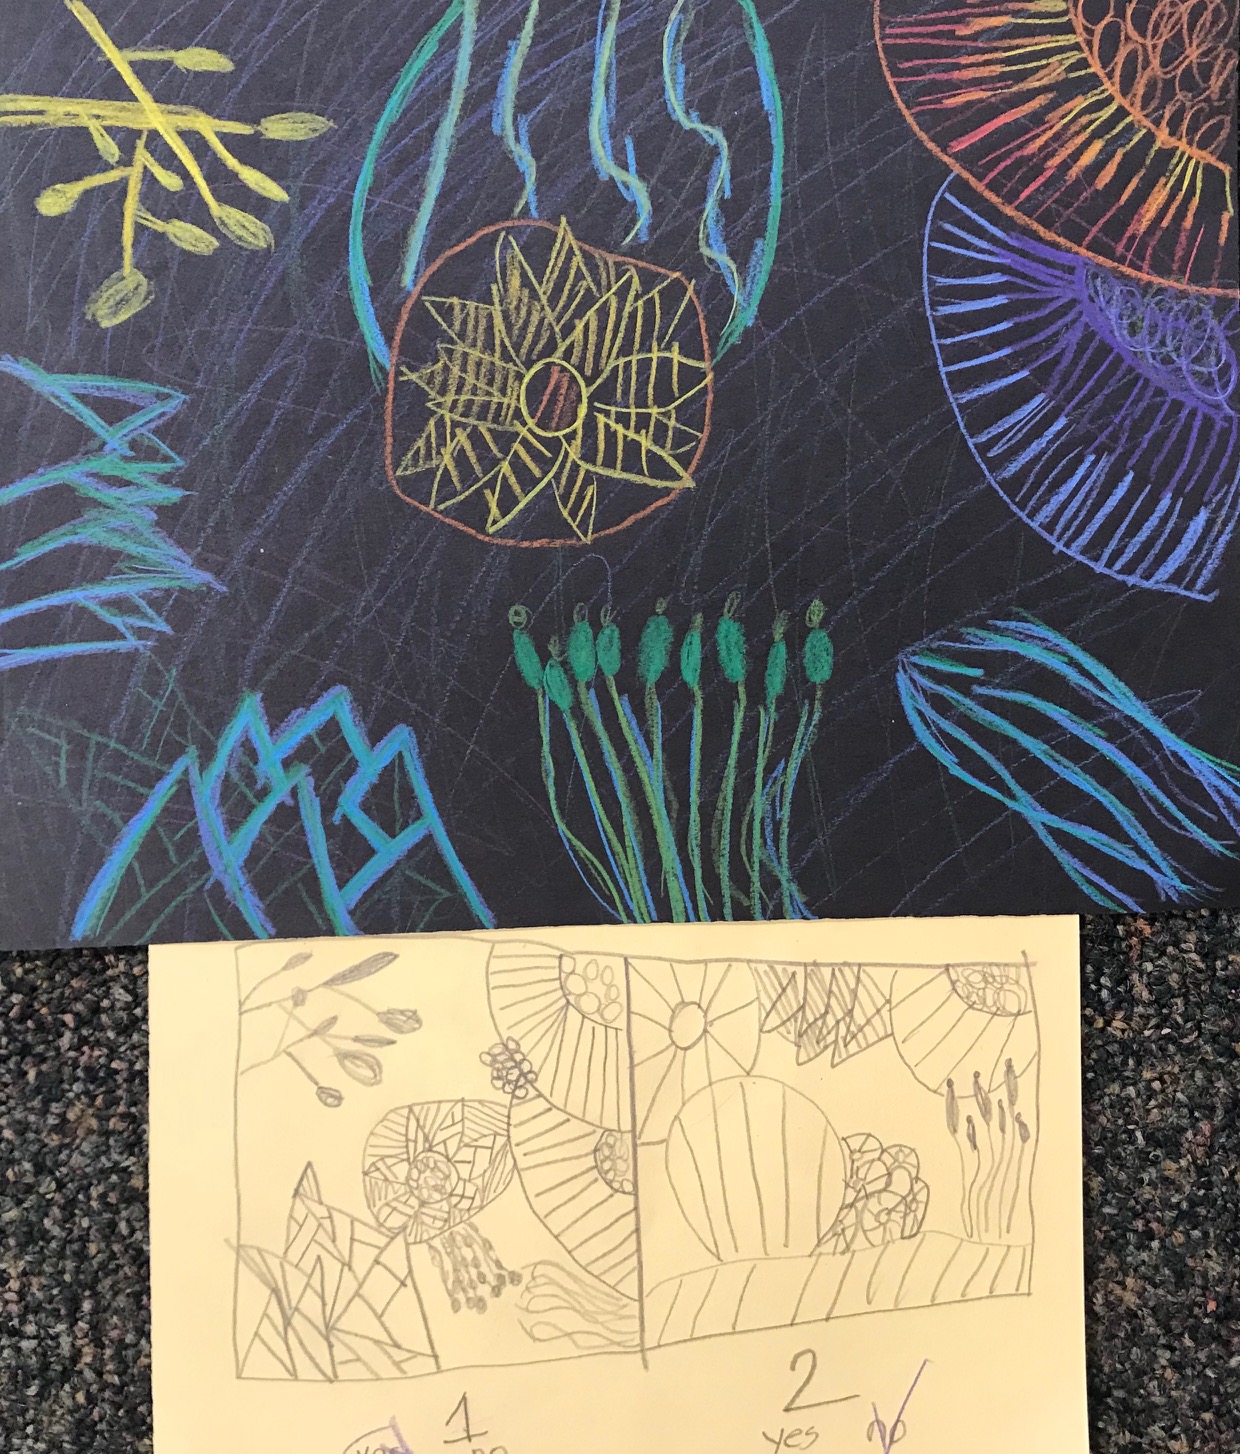
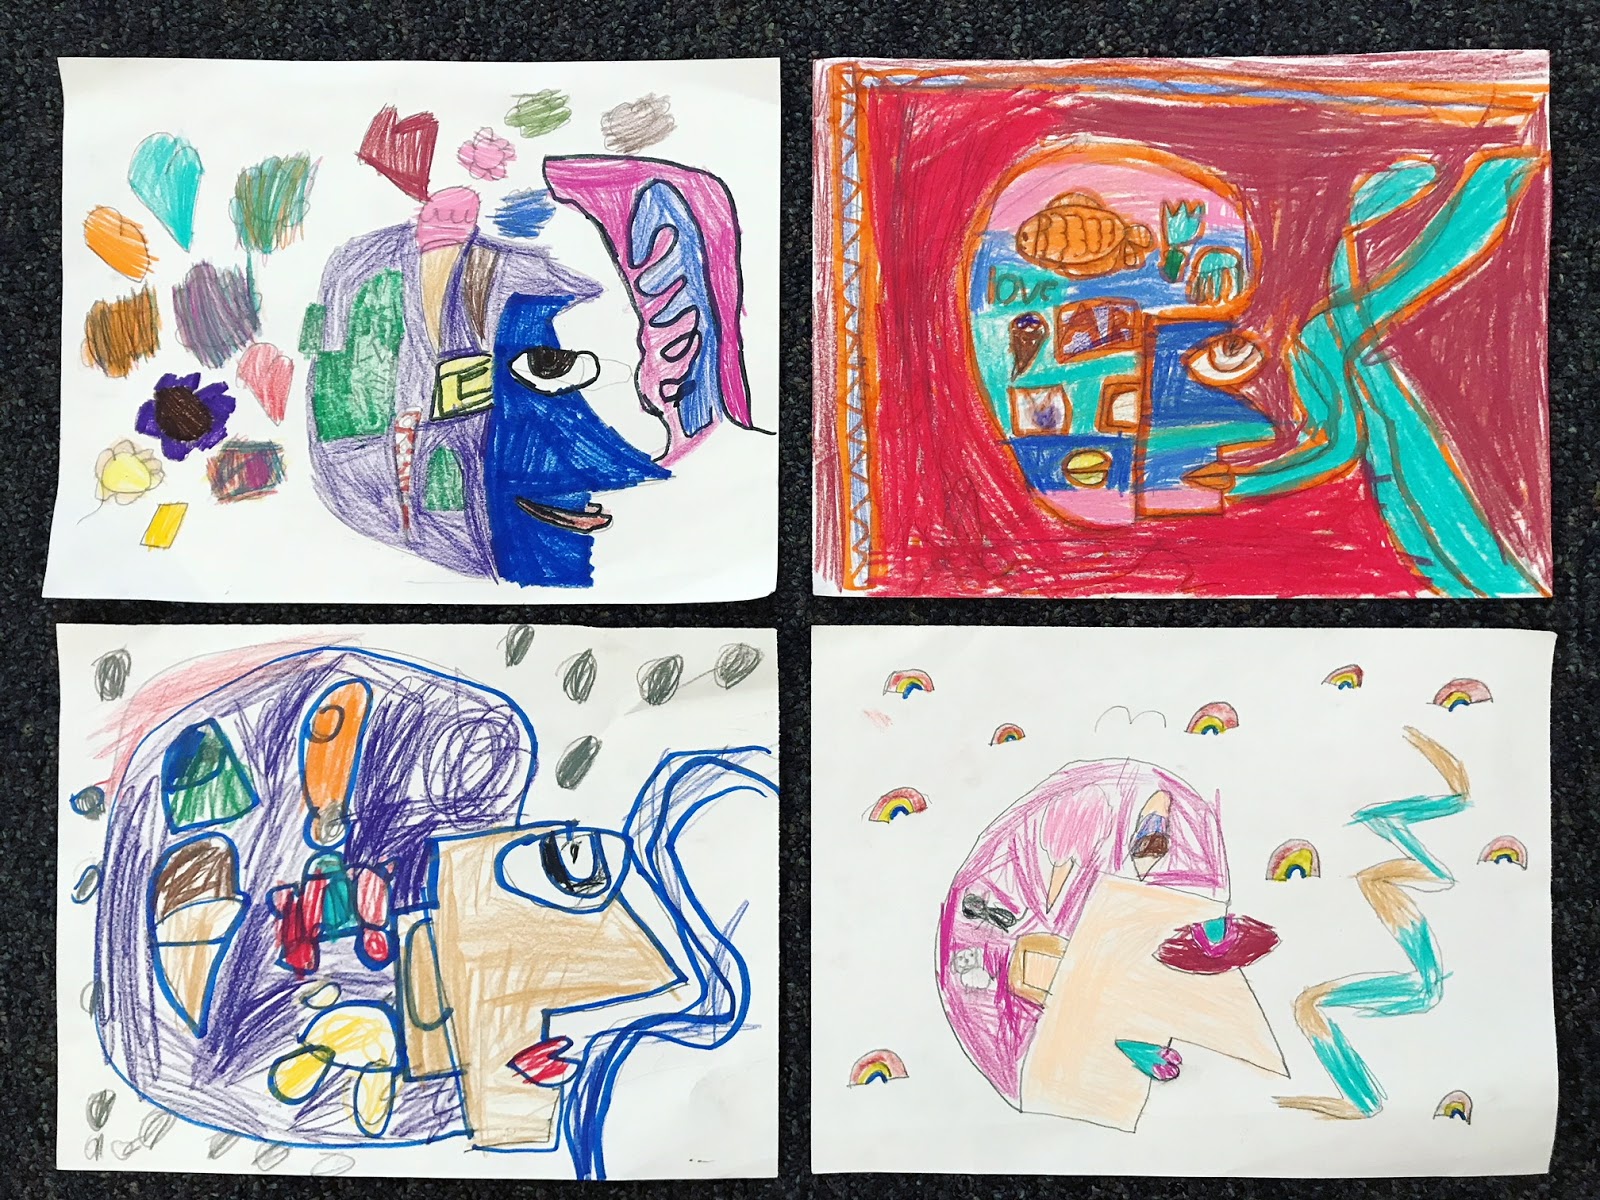
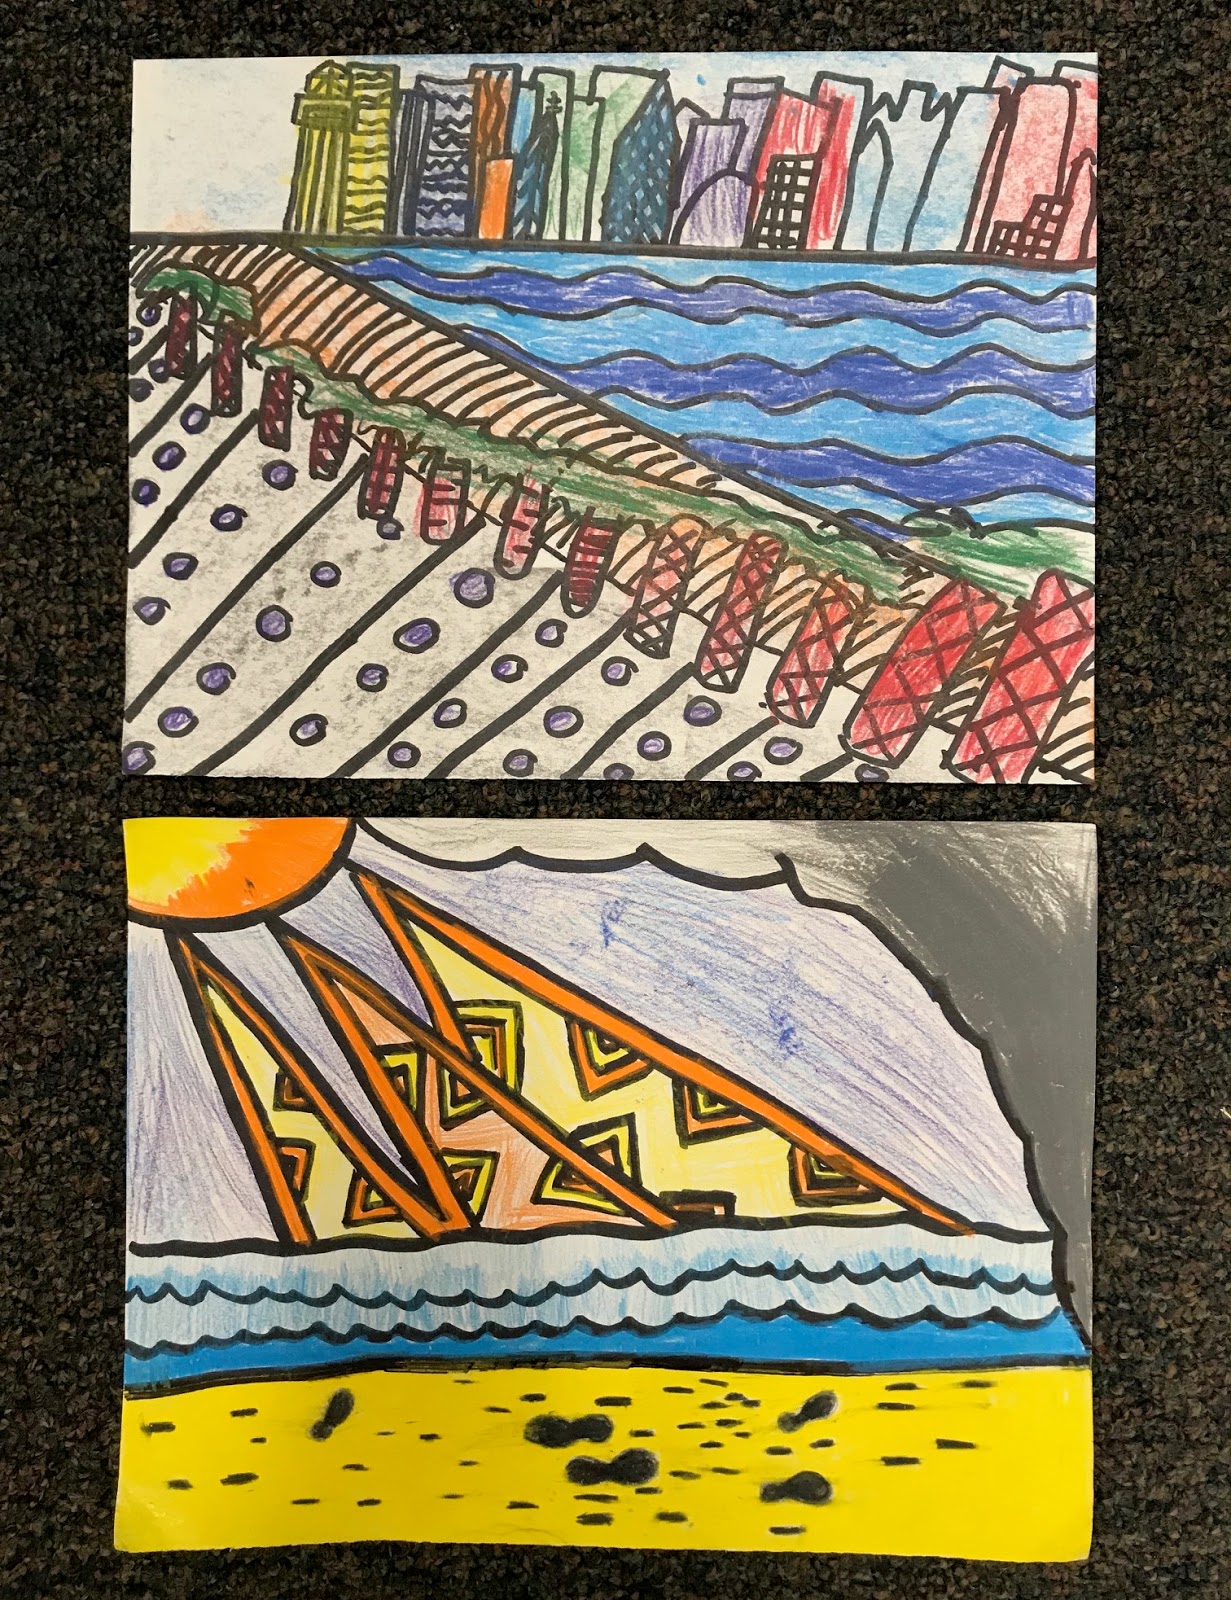
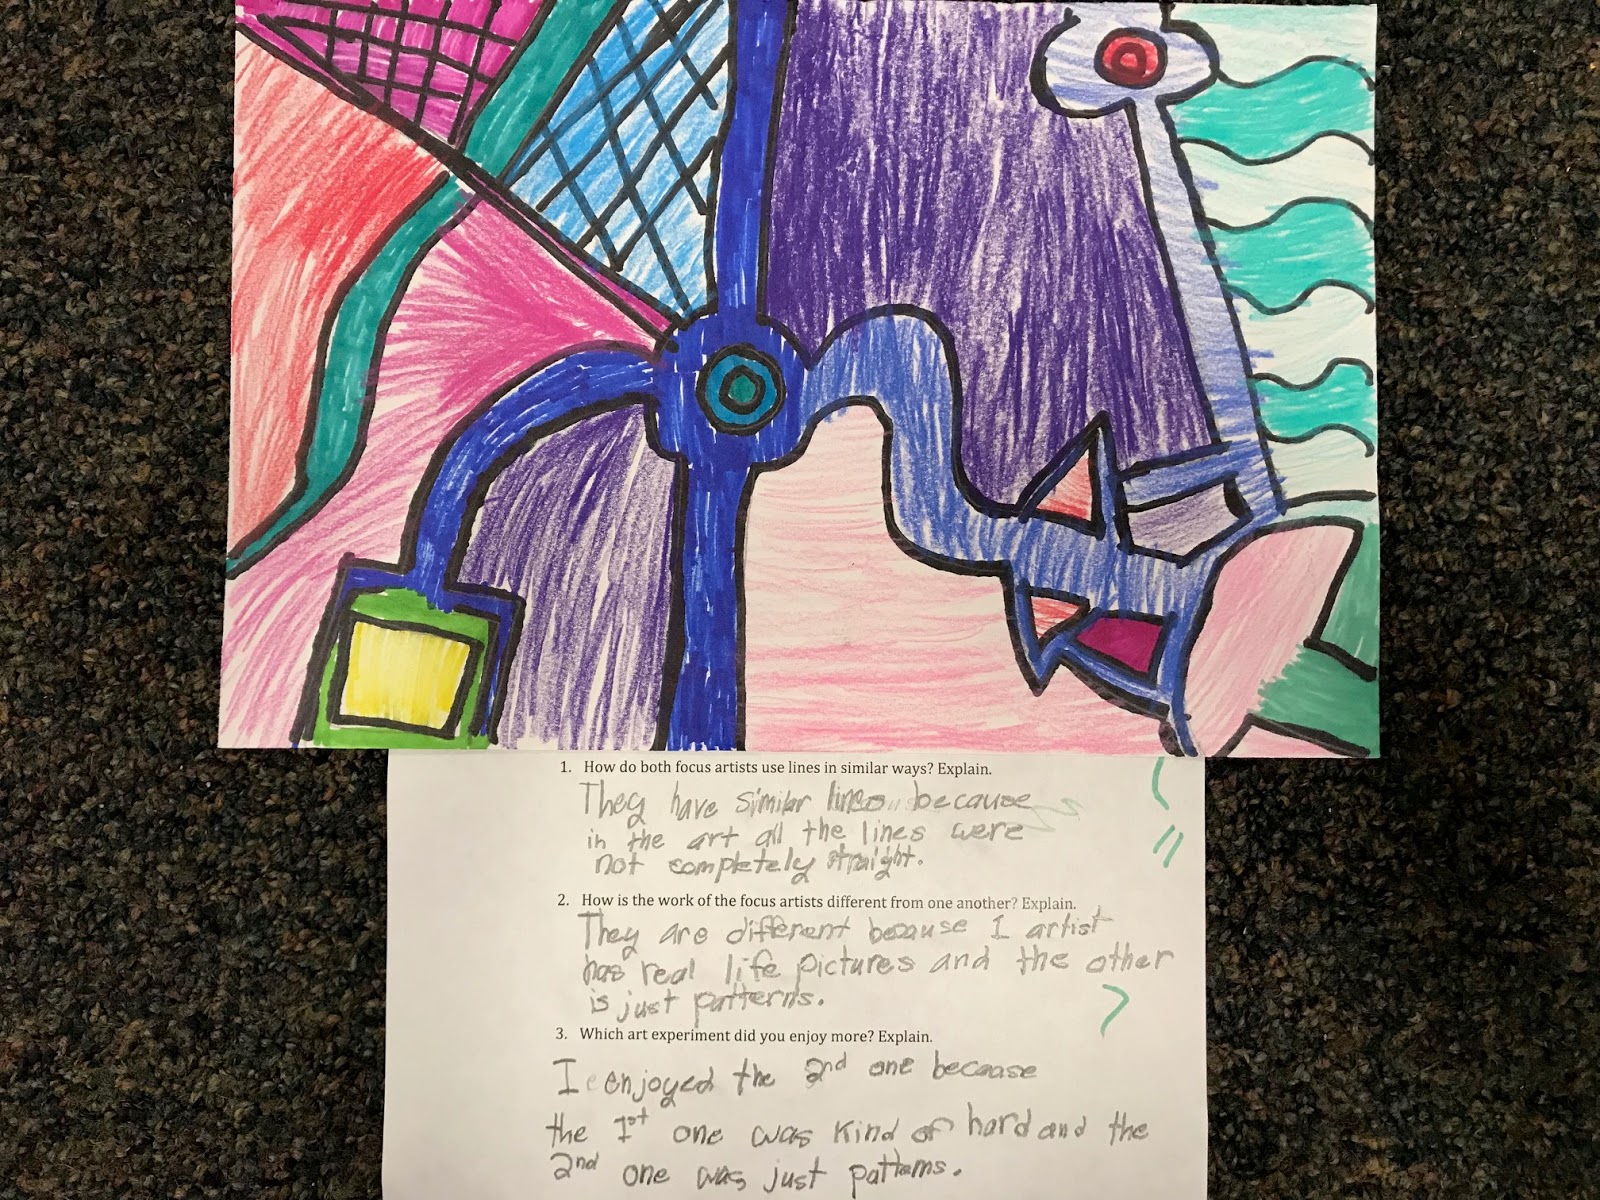
Yellena has been working on dark backgrounds and creating shapes and patterns with colors that are most luminescent. I love the glow and the mystery of these darker compositions. To me, they appear to be fantastical studies of underwater sea life.


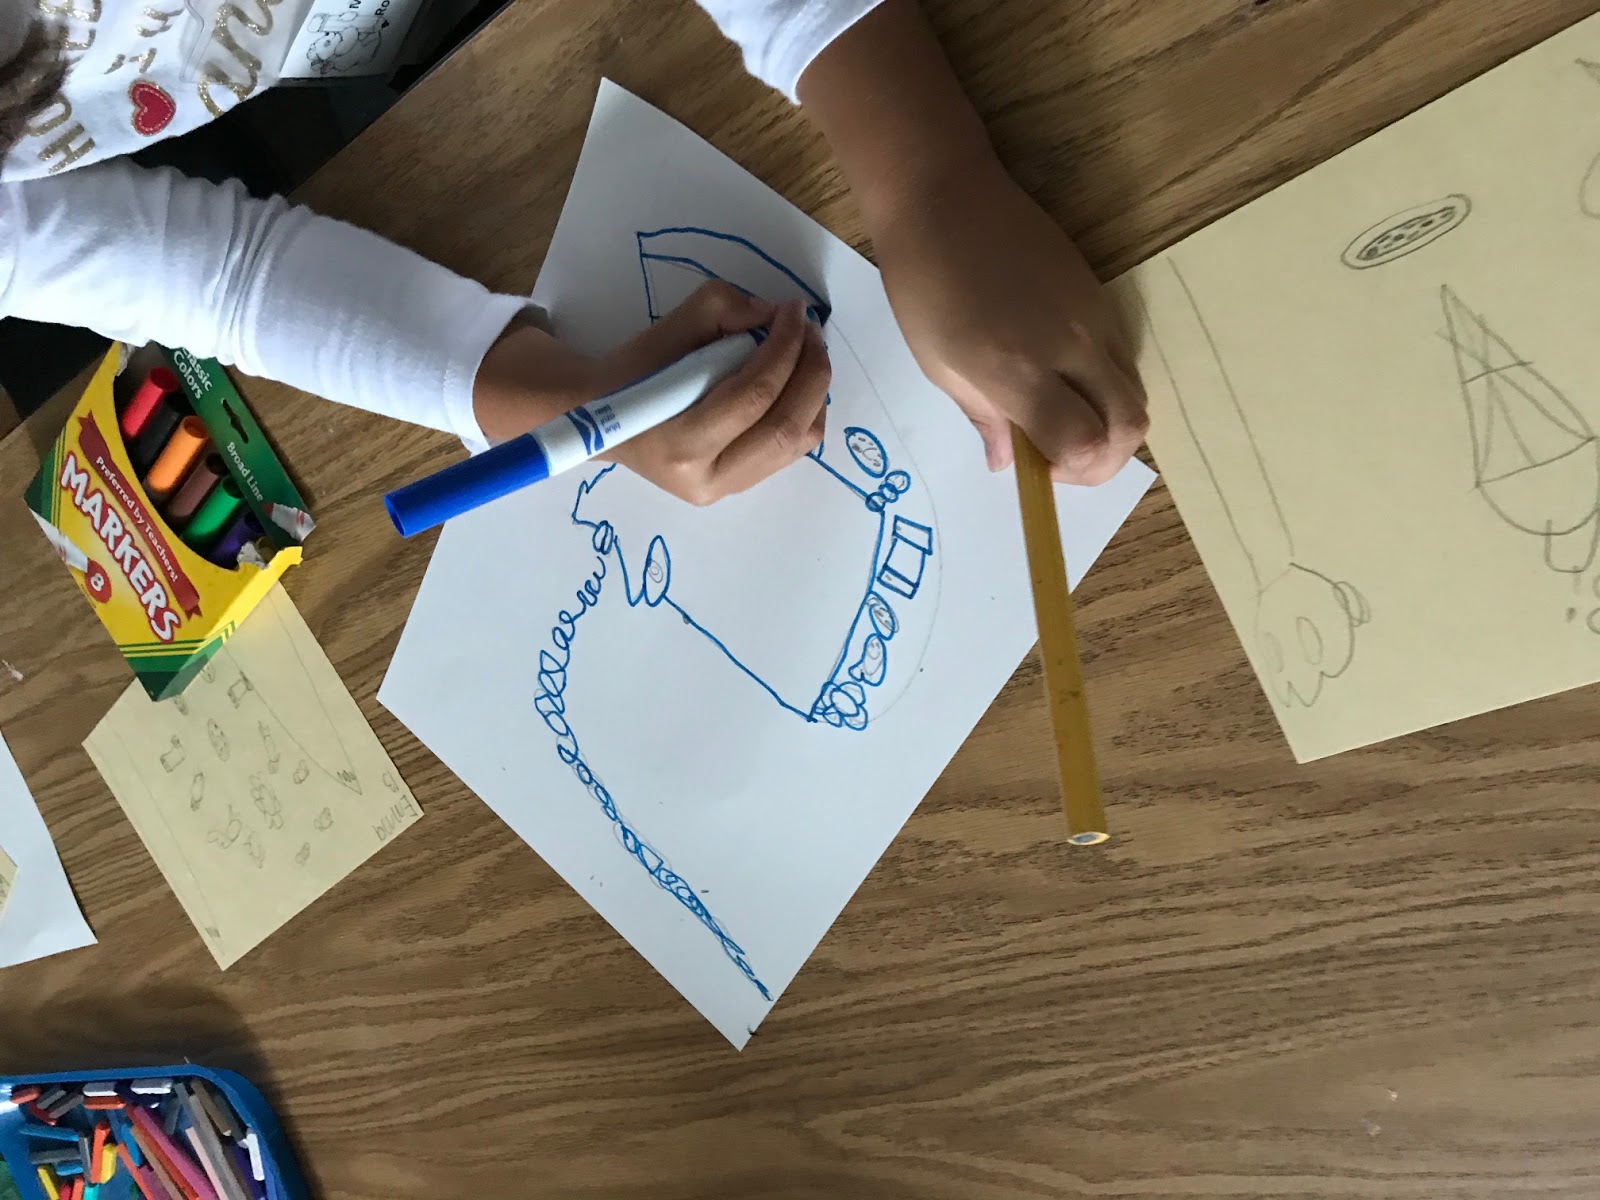
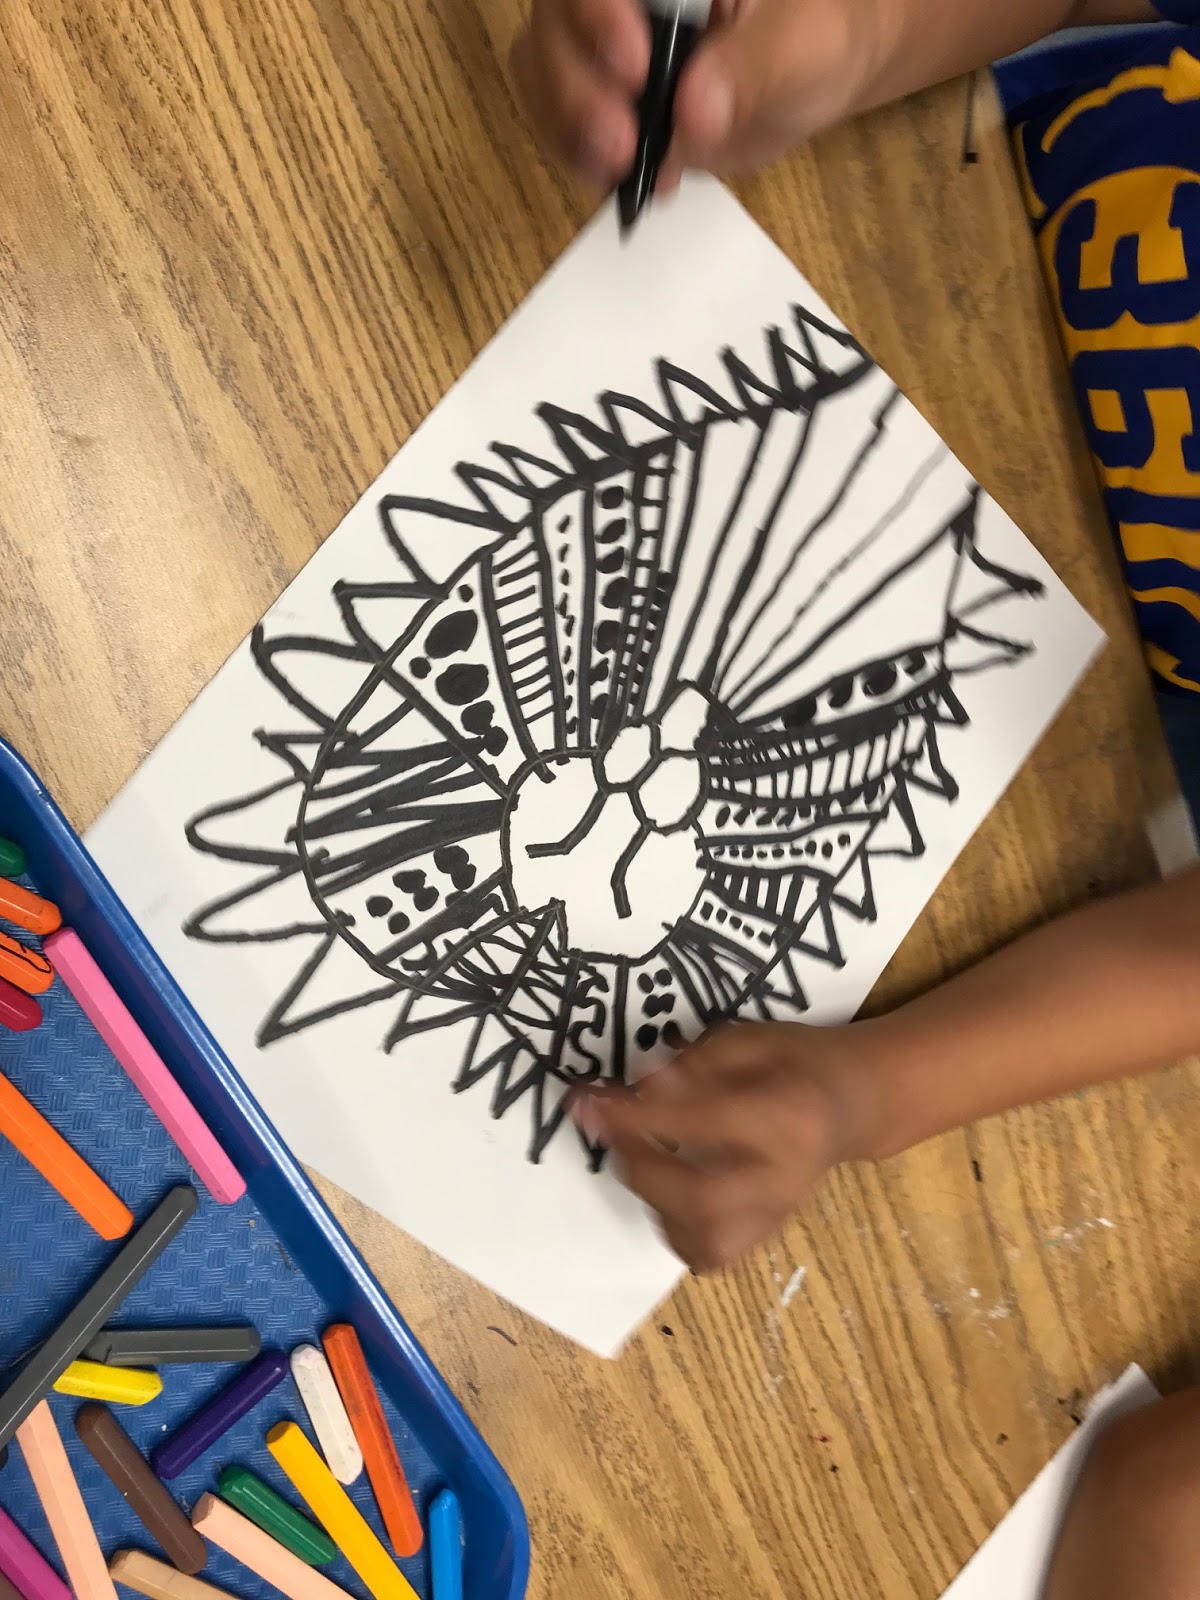
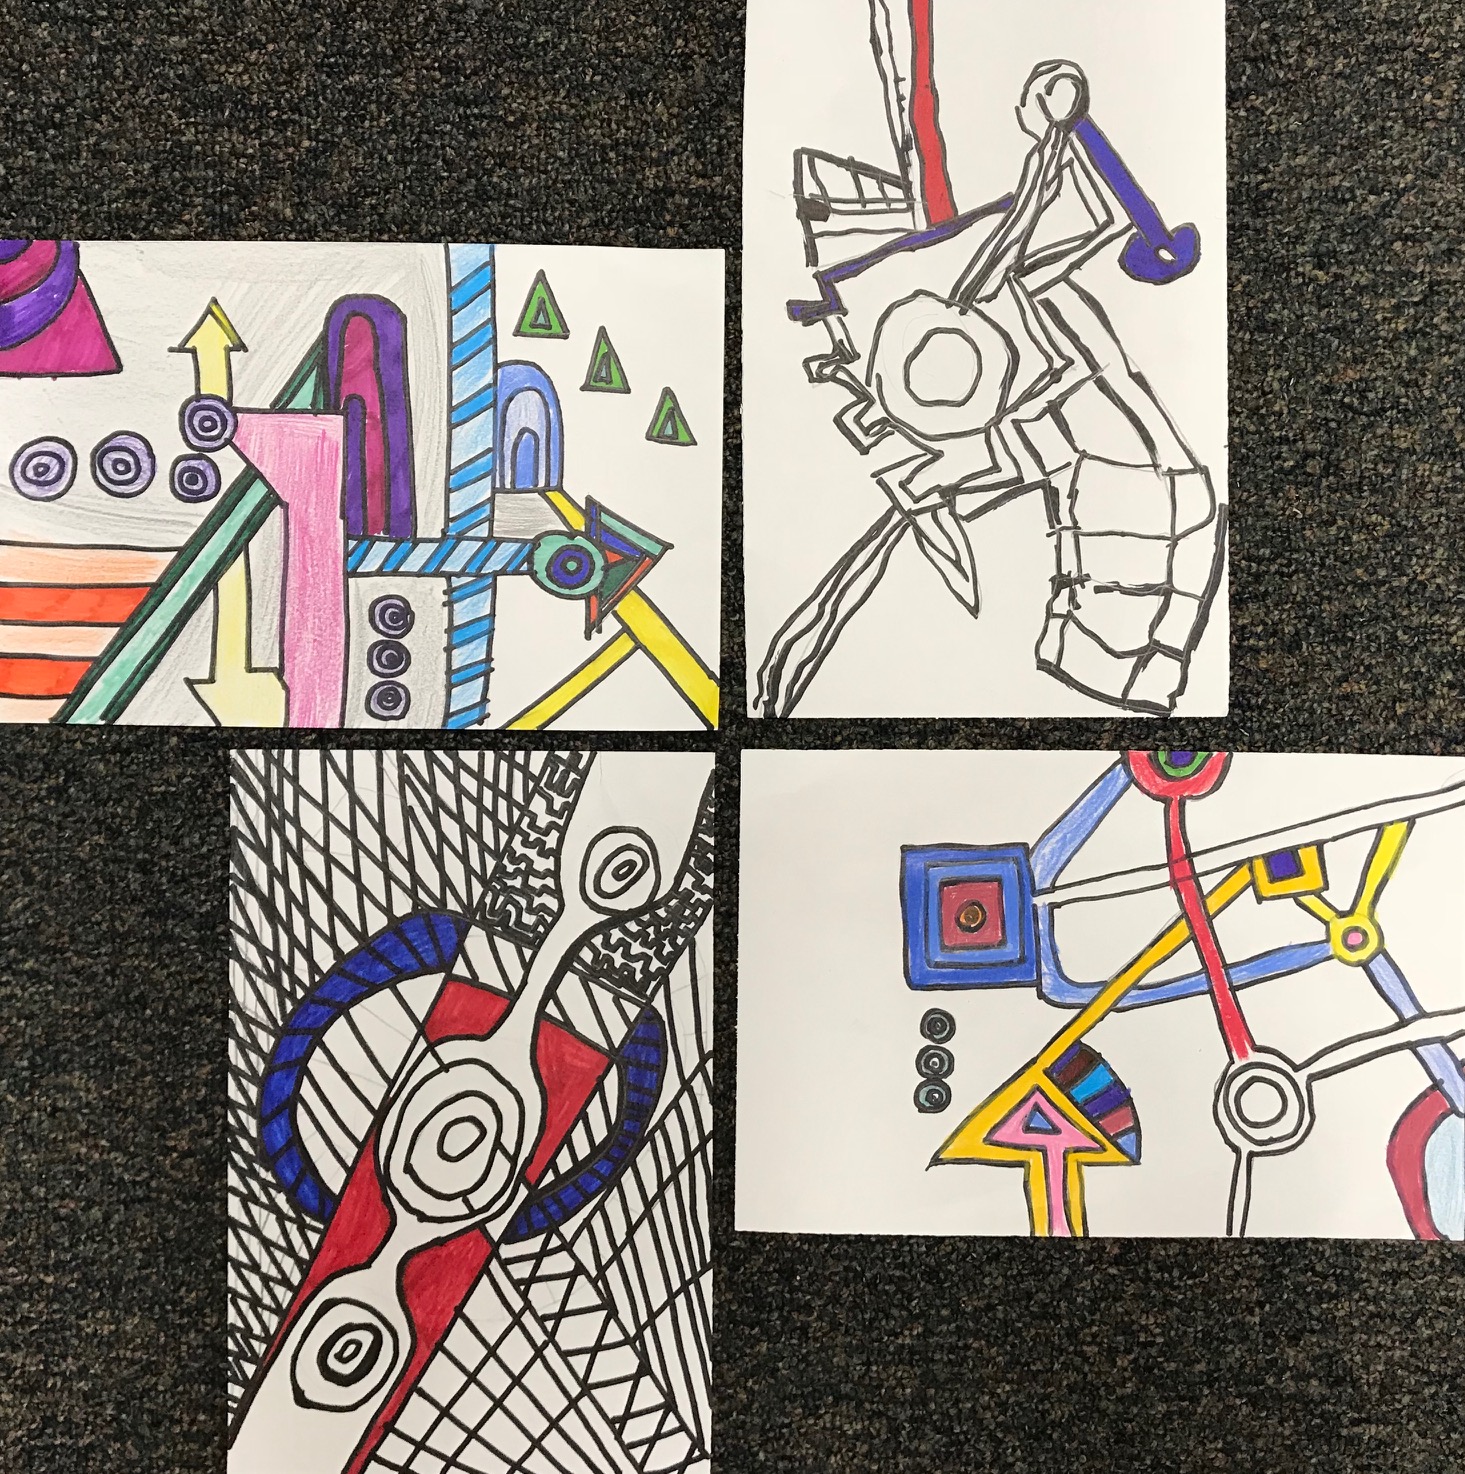
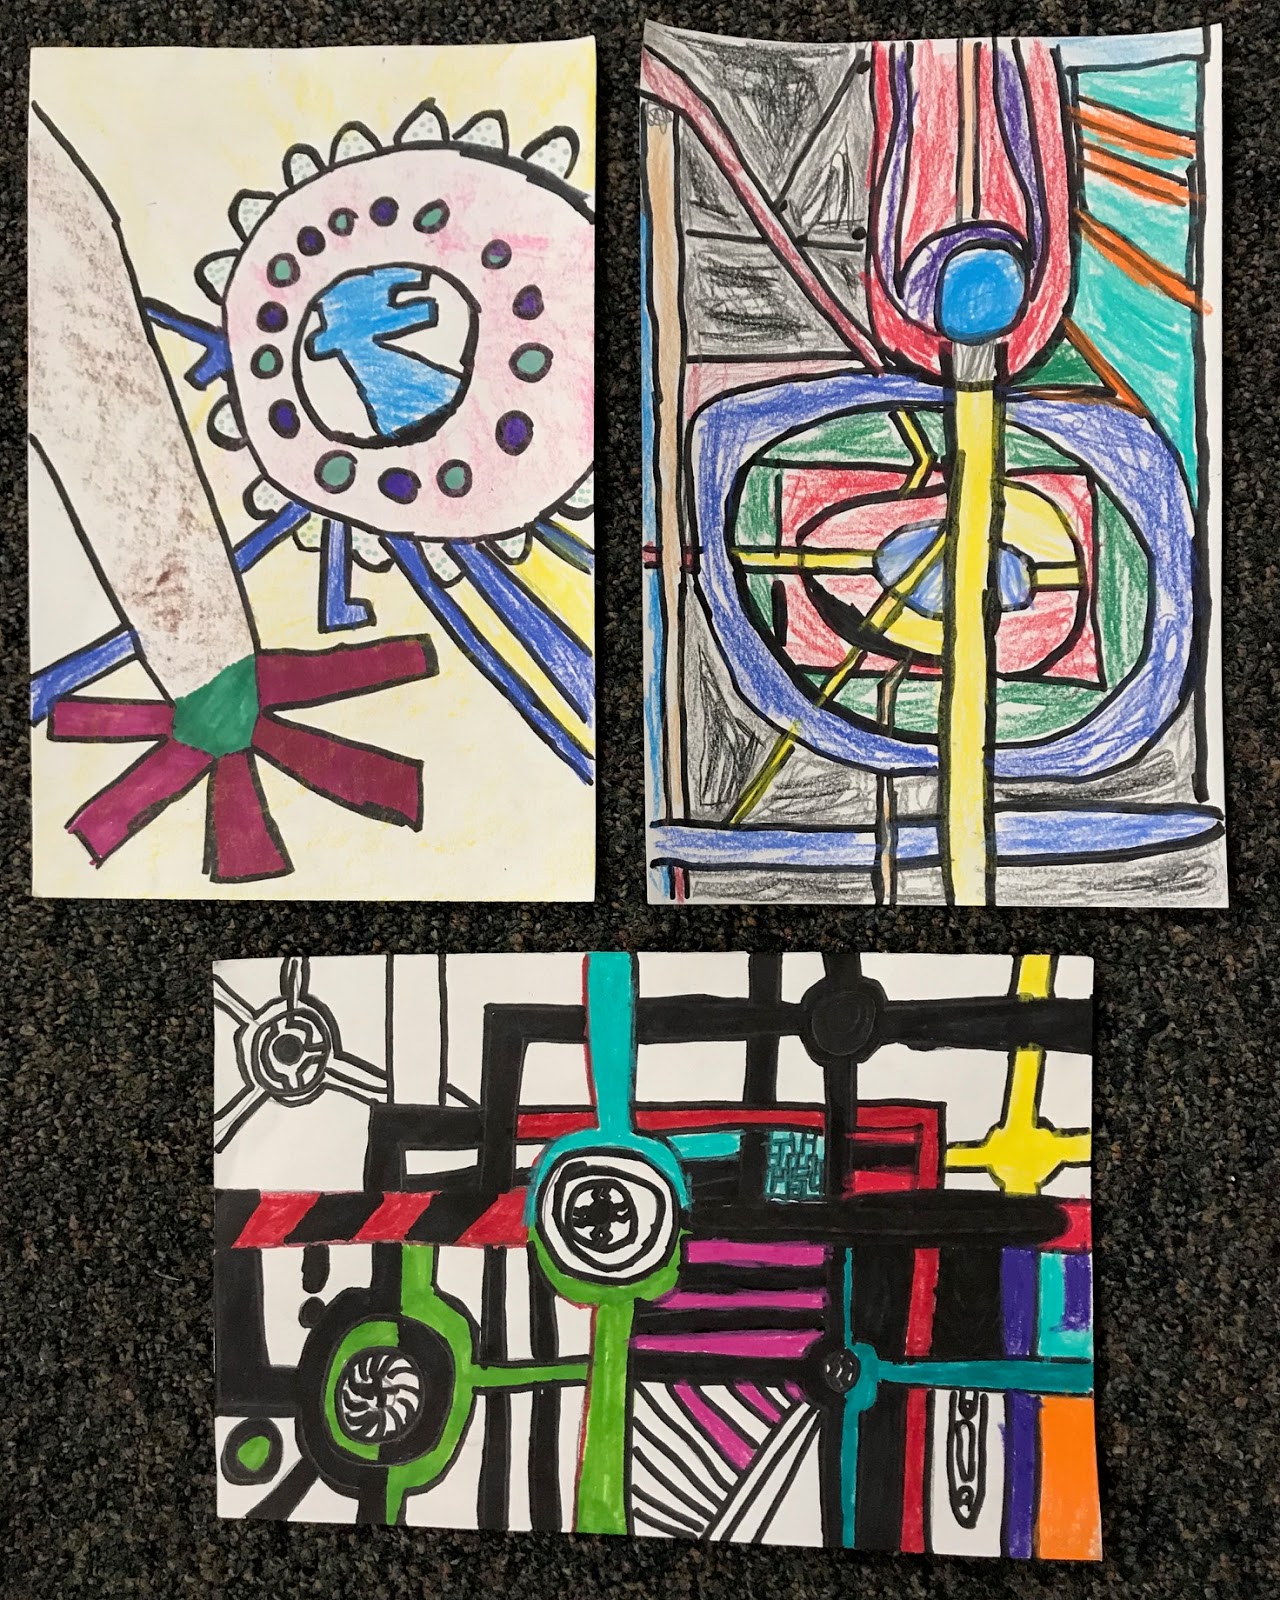
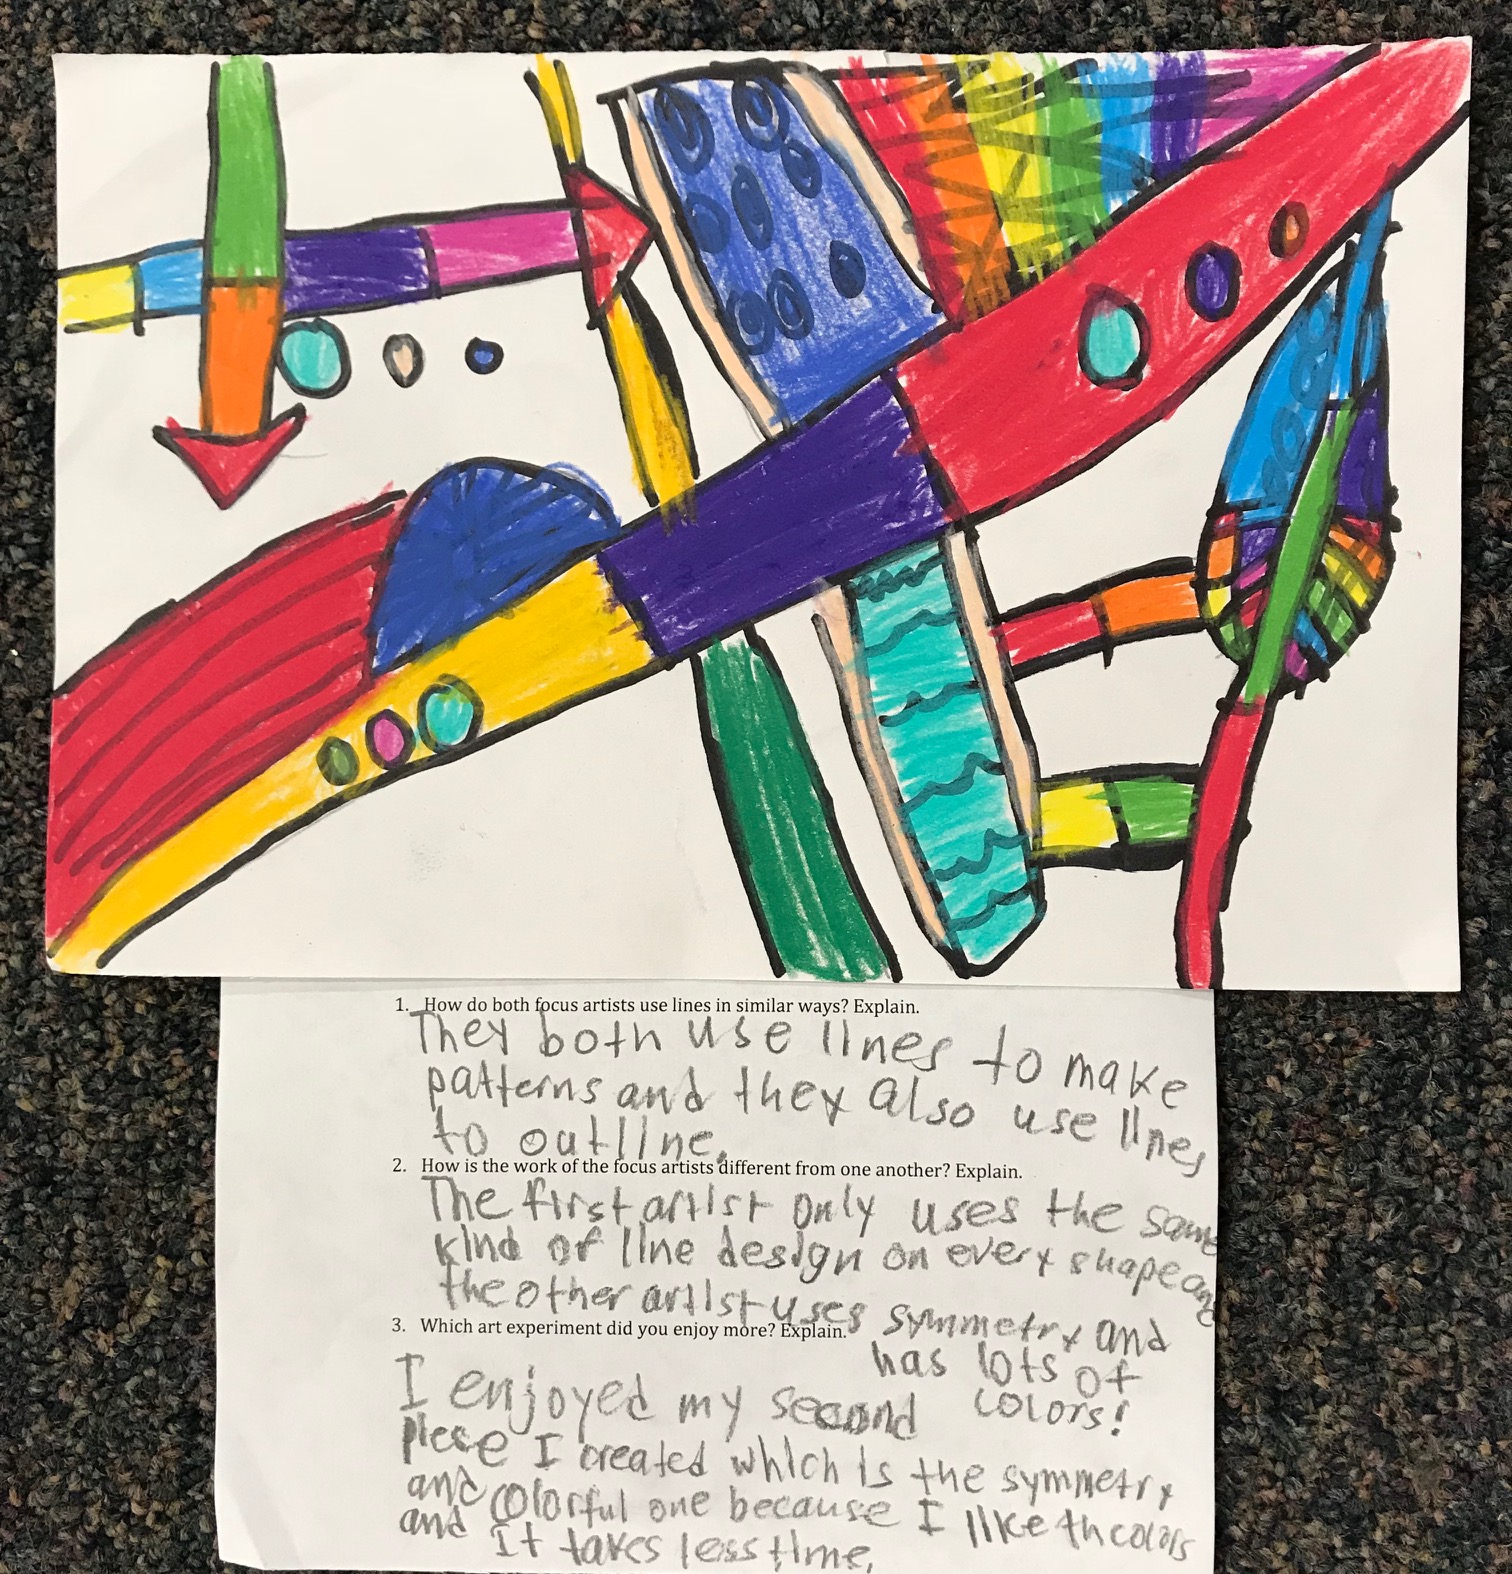
With my 3rd graders, I'm using her work to start their line unit. We are looking at a number of her paintings and using them as a springboard to experiment with contour line, pattern, and space. When students use sketching to plan their compositions, we talk about how they should be drawing from 3 things- Yellena's work, their personal experiences with nature, and their imagination. After creating at lest 2 sketches, they describe which one they would like to move forward with and then get rolling on the black paper final drawing.

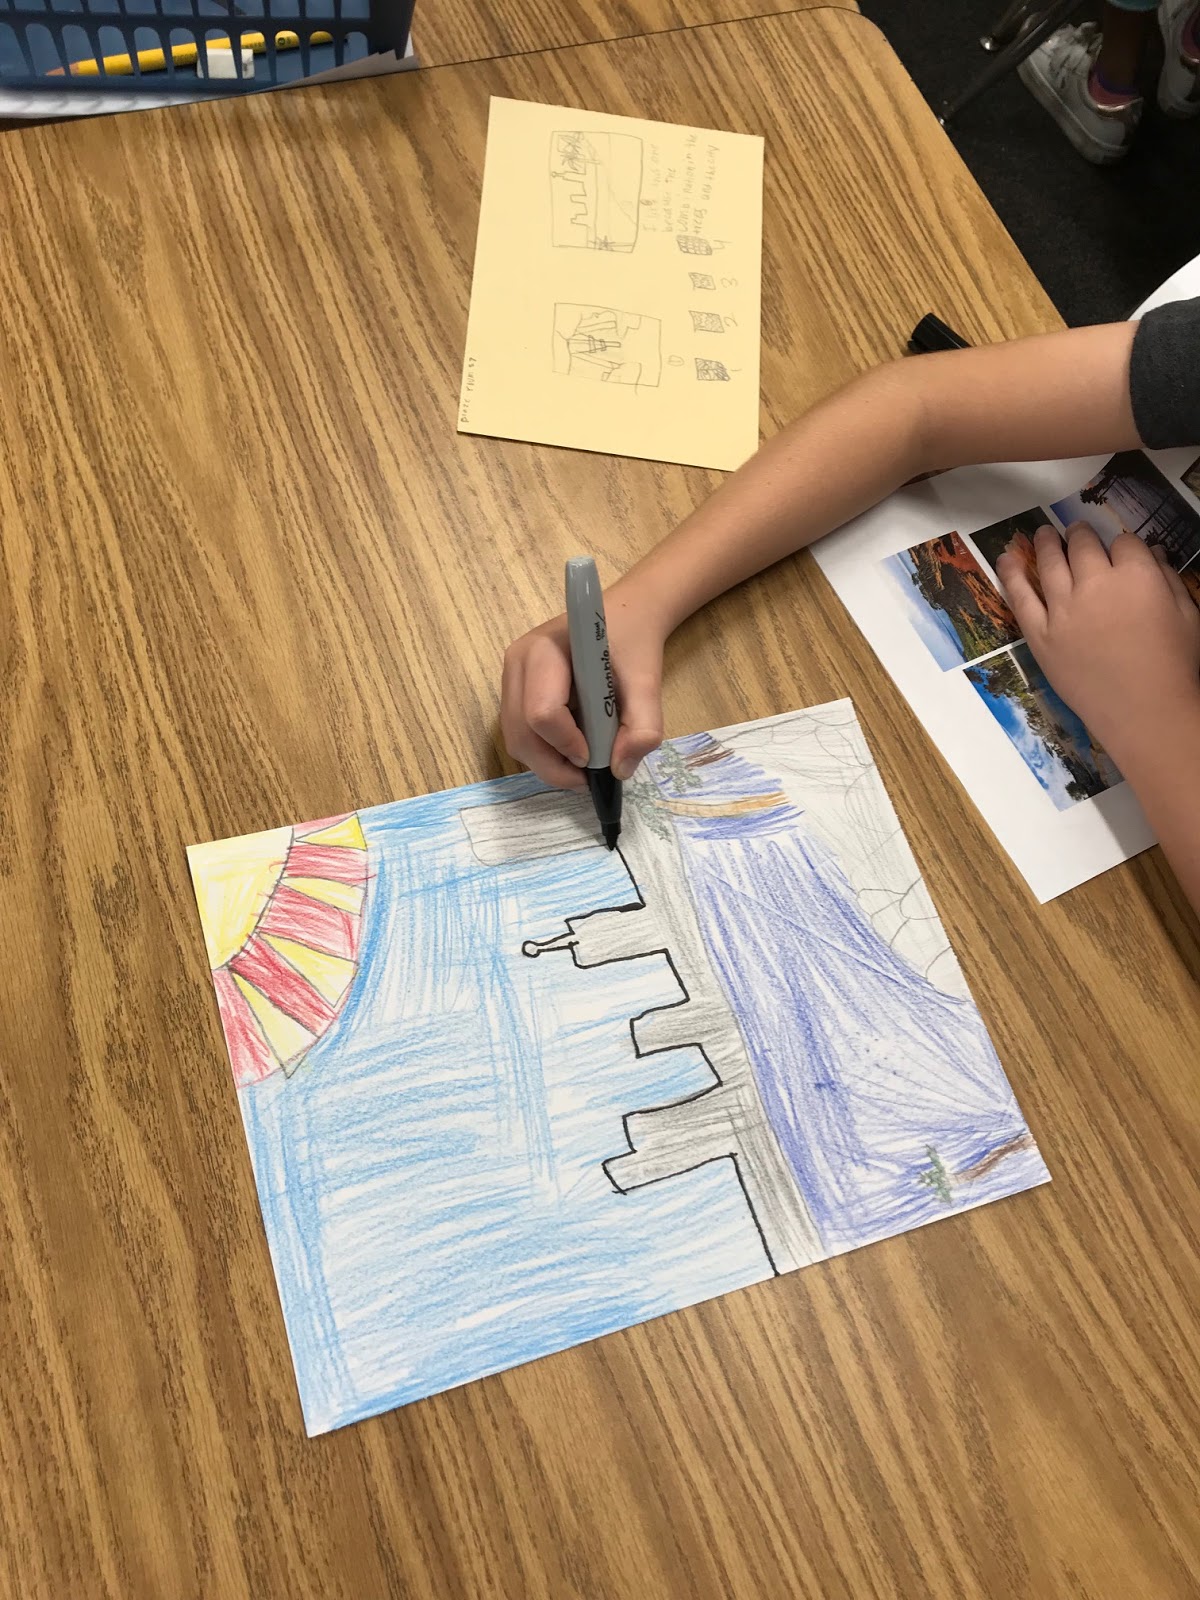
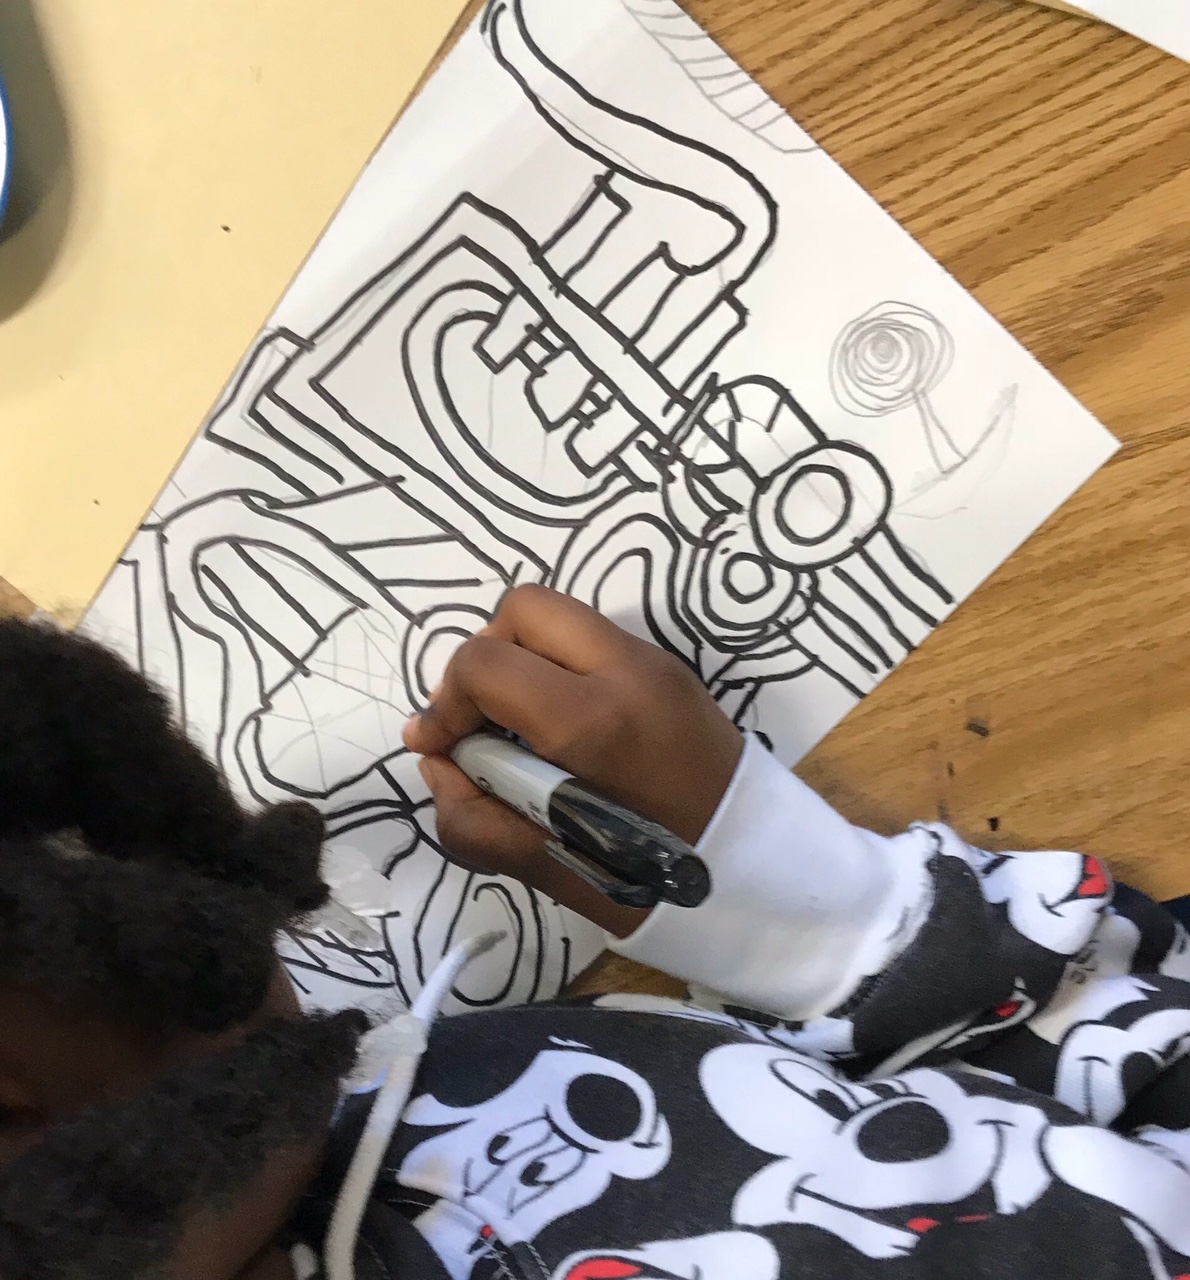
When starting on the black paper, I encourage them to draw out the shapes softly with our crayola colorsticks- this will allow them to erase and edit if necessary. Once things are laid in, they add patterns and other details. Then they can start playing with hand pressure to make some of the elements brighter to pop and to make other parts submerge a bit into the background darkness. I encourage them to elaborate on their sketches- adding more pattern, detail, and color.


There are a few constraints with this drawing activity- a minimum of 3 shapes, 3 patterns, and a use of overlapping. I also encourage them to play with line thickness as well as hand pressure, so that focal points stand out a bit more.

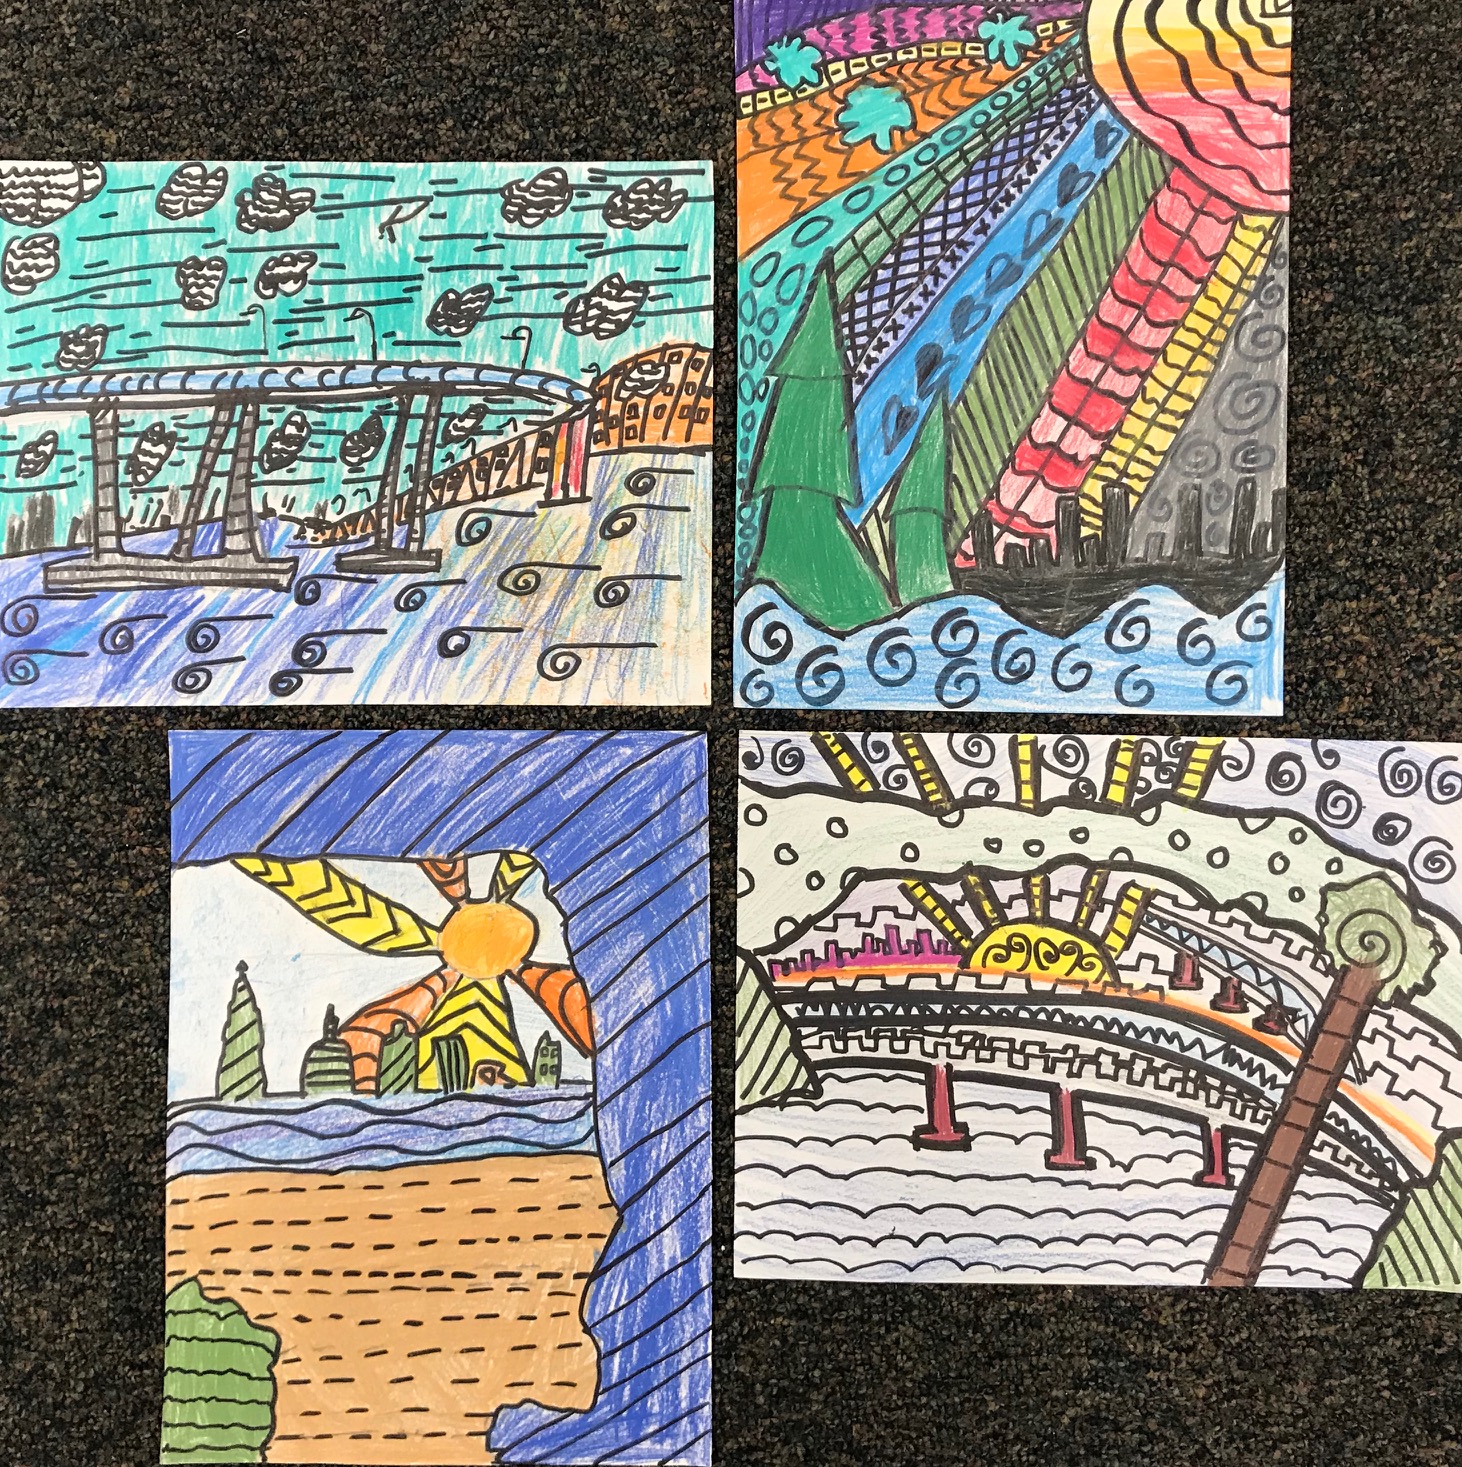
I really am enjoying the variety of compositions that are coming from this drawing experience! next week, they are going to use line a lot differently, so they can see the range of possibilities with the similar elements and materials... stay tuned:)


A few more classes have yet to play, so I'll come back and showcase their work, too.

These are from Thursday:)


Doesn't this necklace totally fit in with the drawings???


Thursday, September 13, 2018

lines! more lines! even more lines!


Wrapping up with my first 2 week rotation with our 1st & 4th graders and we have been experimenting with line while looking at the work of Nate Williams, Brita Lynn, Cadu Mendonca, and Seize Happywalker for inspiration.

Let’s dive in.

1sts looked at an illustration by Nate Williams and created profile portraits than included things of interest/ importance to them. They talked about things they liked, drew a few of them as practice, and then included them in the head of a portrait. They drew a picture of them thinking about what they like. 


They came back this week and we looked at a couple animals at the SD zoo and compared them to a couple paintings by Cadu Mendonca. They picked up on the difference between seeing a face in profile and seeing one from the front- one eye and half a mouth… except for peppa pig! We drew one of his animals together and then kids were to experiment with patterns within the animal. Color was added to specific parts to make certain parts stand out.


4ths looked to a drawing by Brita Lynn Thompson (zenspiredesigns) for a landscape and pattern exercise. They noticed how line was used to make the different landscape elements and how she also used it to fill every area with patterns. They looked at a collection of Sd landmarks and tried out combining different elements from different images. We talked about large v small scale and overlapping to create space, to boot.


Students scaled up in pencil, added colored, traced contour lines, and added patterns. Most kids needed extra time for this activity, so they had a full 80 minute session and then 15 minutes of the next to complete it. 


After that, they took a look at some work by Seize Happywallmaker (how awesome is that name?). They picked up on how he uses lines to create different shapes and how he overlaps to still make some depth in an abstract image. They noticed how symmetry was present in some of his pieces and not in others. I shared a short video of Home working and the kids loved it. It’s always cool to share this type of thing with our kids. I think it’s so important to see, videos or first hand, artists working through the various steps of the design process.


I modeled how they could create a design like Seize by starting with a couple simple shapes, giving them borders, adding another border that branches off, and then supporting shapes. We jumped right in to this. It was more much more spontaneous than the landscape drawing. Students drew, traced their lines, and added color. When coloring, I encouraged them to experiment with hard/soft, color patterns, and leaving some background shapes open, so there were places for us to rest.


To wrap up, the 4ths completed an exit slip that had them comparing and contrasting the focus works and telling me which experience they enjoyed more and why.

The 1sts and 4ths are off to a great start! Can’t wait to see them again when we play with shape!